
Raw Edge Applique – Quilt Tutorial
This raw edge applique quilt tutorial is part of the series
1 Design – 5 Quilting Techniques.


You can make applique quilts using a few techniques, for me the raw edge applique technique made with fusible web is the easiest and fastest one.
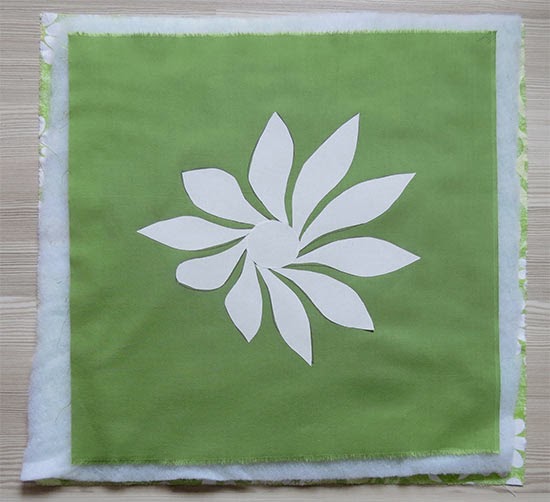
Here is the little sample I stitched for you.

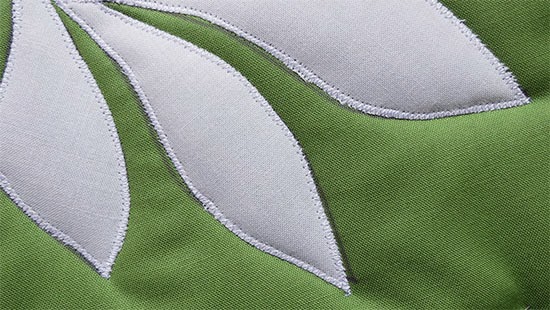
And here is a close up of the applique stitching.

For this technique you need:
- background top fabric, fabric for the appliqued design, batting, backing
- fusible web (like Wonder Under,Vliesoflix/Bondaweb, Heat and Bond, Steam a Seam)
- water soluble pen
To assemble the pattern, cut on the dashed line of the first page and tape it to the second page.

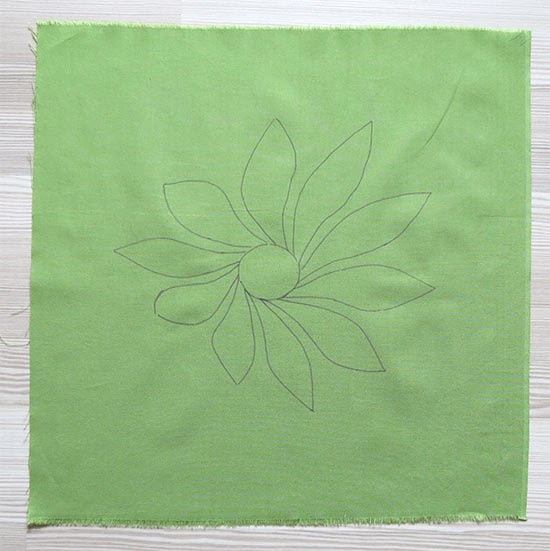
Transfer the design onto background fabric
Tape the paper pattern onto a window then tape the fabric over it.
Using the water soluble marker, transfer the design onto fabric.
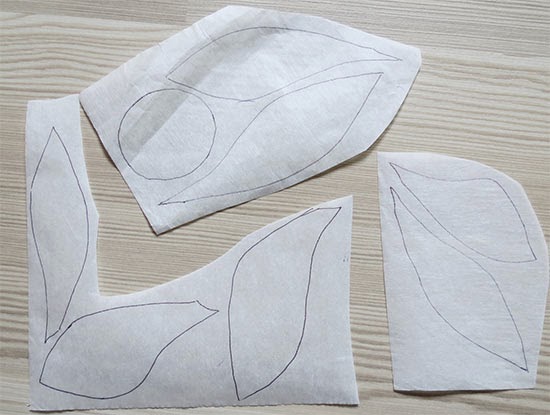
Prepare the applique pieces
Reverse the pattern (flip it over) and transfer it to the paper side of the fusible web. Cut the fusible web out roughly.
Place the fusible web pieces, rough side down, to the wrong side of the fabric for the applique design. Press following manufacturer’s instructions.
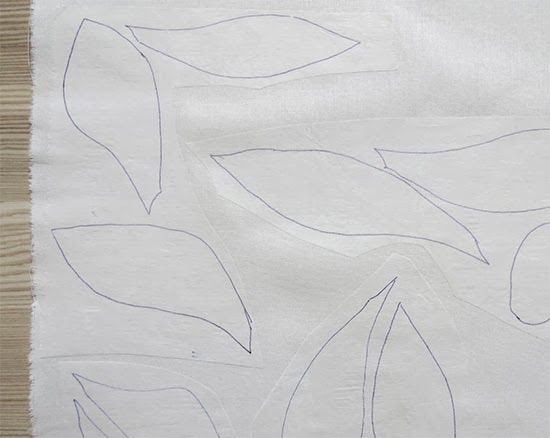
Then cut precisely on the lines.

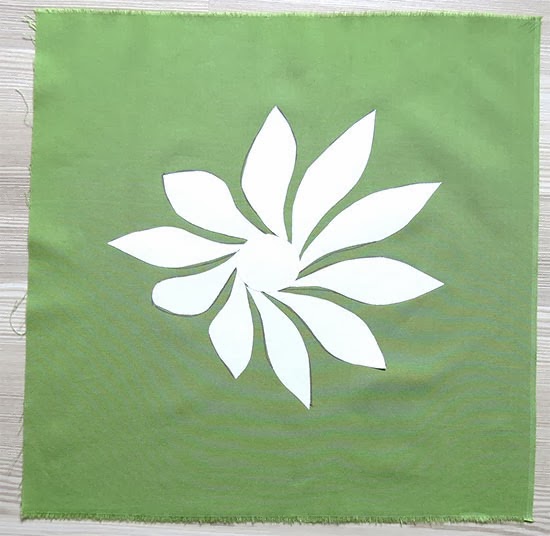
Remove the paper backing from all the pieces.

Fuse the applique pieces
Then place each fabric piece in position, coated side down, onto the background fabric.

When everything is in place, press well. The applique design is now fused to the background fabric.
You could secure the edges of the applique pieces at this stage.
Quilting
Usually, I do the applique part and the quilting at the same time. In other words, I secure the edges of the appliques pieces stitching (quilting) through all the layers (top+batting+backing).
So here is the quilt sandwich.
I used a medium zig-zag stitch and a matching thread. I love continuous designs!
I stitched with a walking foot because it was a small piece. For big quilts I prefer to stitch with a straight stitch and free motion (darning) foot.

Here is a close-up.
Now quilt the background as desired. Wash the quilt then bind it.
- I hope you enjoy this technique- it is one of the easiest quilting techniques- it’s PERFECT for beginners!
- The most important thing for this technique is the water soluble marker! (Do you have a marker like these ones?)
A good marker offers you freedom to experiment with any design!
SMALL GALLERY of my APPLIQUE QUILTS
 Color Me Rainbow
Secret Flower Garden
Delicious Expectations
Happy Heart

Woven Wonders
Diamond Dilemma
Angle Delights
See the other tutorials of the series here.


Right now I work to a Babyquilt with raw edge applique hearts, so this tuto is just in time. Thanks Geta!
Me too! I'm working on something with raw edge applique. Thank you for your very clear step by step instructions!
I love your blog Geta but before I open one of your emails I need to be sure I can devote at least 1 hour. I read your articles, follow some of your links, read comments, follow some of those links (and often get lost in their bogs!)and drool over your quilt and quilting designs. I am always inspired and uplifted.
I have just joined your site. And think you are very generous with your patterns, tutorials and ideas. Thank you. I looked up on Google any patchworkers in Romania as we are coming to Brasov in July. We hope to get to your studio – do you take visits?
Molto belli e originali.
I think I’m getting to old to do all these wonderful things. I am going to try raw edge applique daisies. They are one of my favorite flowers. I get so much enjoyment just looking at the thing
you have created. You are so creative. Thank You for sharing you are the best. Can’t wait to share with my sewing group.
claudene
Thank you for the free quilt library! I have done of few of your designs from it and it keeps me returning to your site. I am an artist and quilter and your designs always inspire me! I love it! Karen M.